 Signs & Large Format Print
Why bleed exists at all
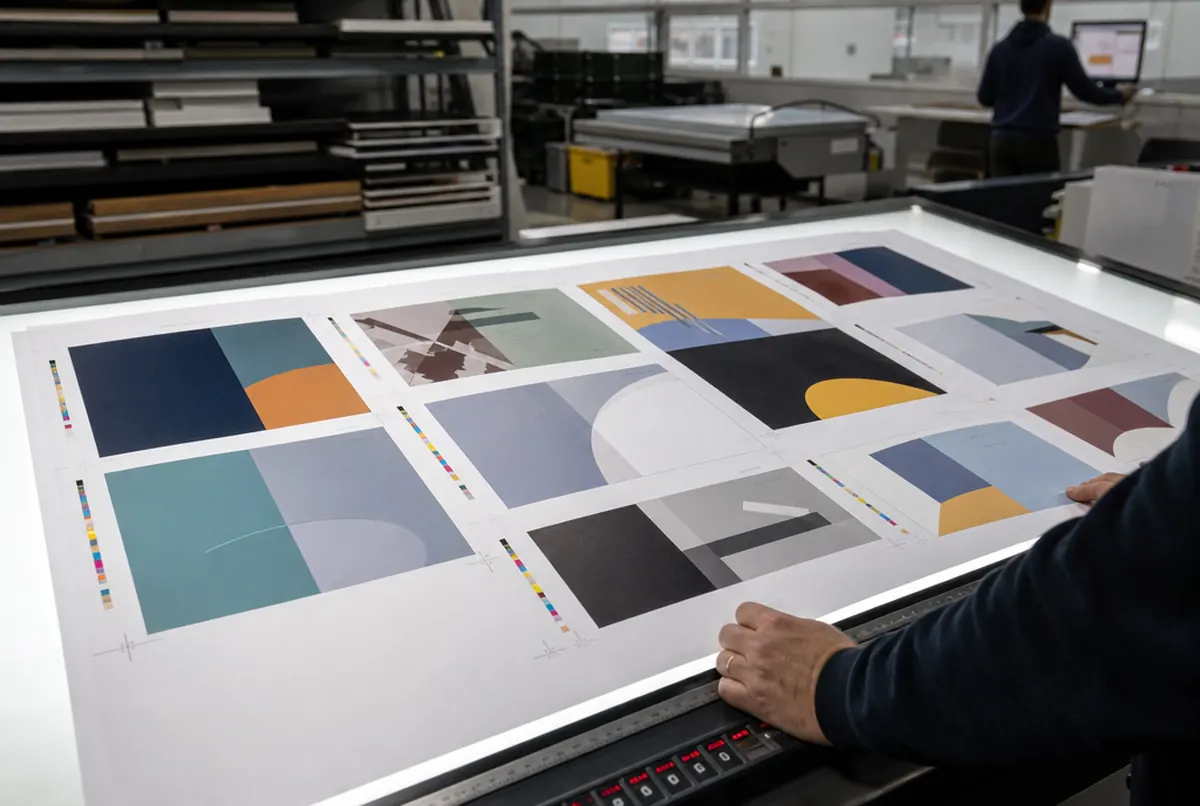
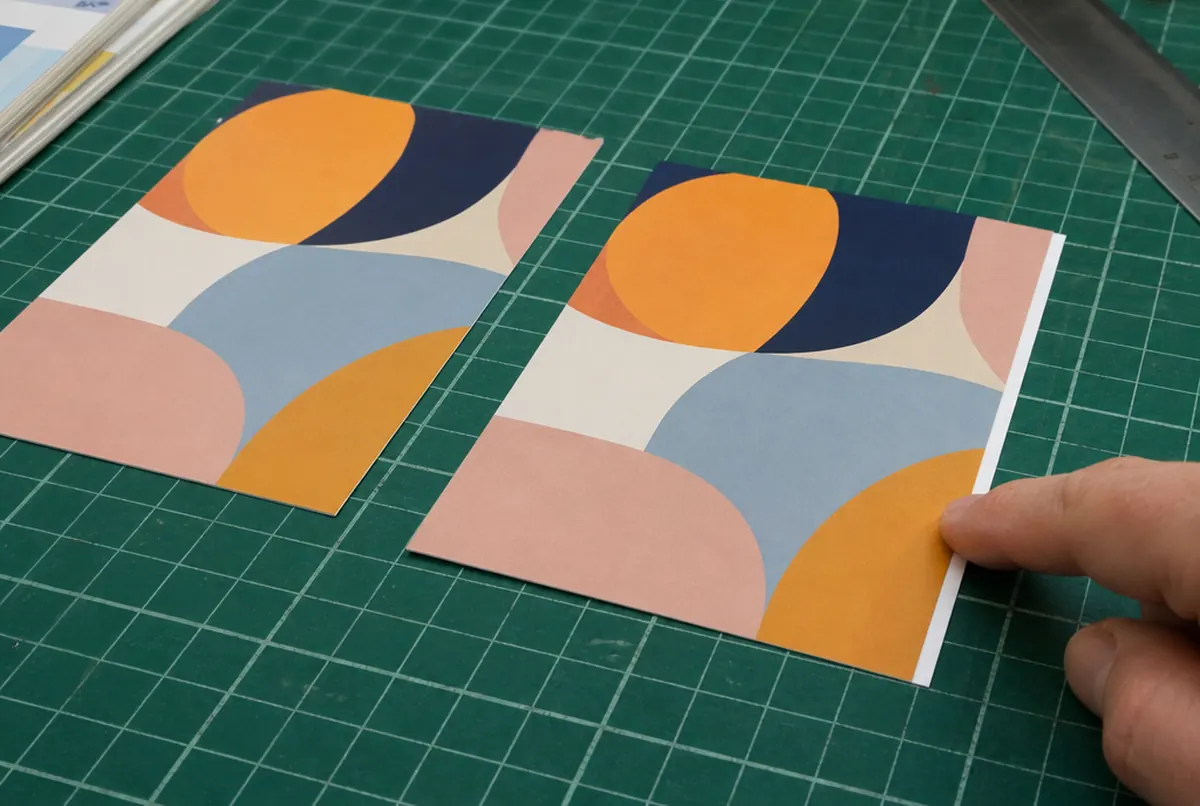
After printing, sheets are cut on a guillotine in a stack. Even a very precise machine does not cut every sheet in exactly the same place to a tenth of a millimetre: paper shifts slightly, and the print on the sheet has its own tolerance too. If the background ends exactly on the trim line, some copies will have a thin white strip at the edge.
Bleed solves this simply: backgrounds and photos run beyond the format, so the blade cuts through printed area. It makes no difference whether it shifts half a millimetre one way or the other.
The other side of the same principle is the safe margin. If the cut can shift slightly outwards, it can also shift inwards. That is why text, logos and phone numbers are kept away from the edge.
How much bleed to add: popular print products
| Product | Trim size | Bleed | File size | Text margin |
|---|---|---|---|---|
| Business card | 90 × 50 mm | 3 mm | 96 × 56 mm | 3–4 mm |
| A6 flyer | 105 × 148 mm | 3 mm | 111 × 154 mm | 4 mm |
| A5 flyer | 148 × 210 mm | 3 mm | 154 × 216 mm | 4–5 mm |
| DL flyer | 99 × 210 mm | 3 mm | 105 × 216 mm | 4–5 mm |
| A4 letterhead | 210 × 297 mm | 3 mm (when artwork reaches the edge) | 216 × 303 mm | 5 mm |
| A4 stapled brochure | 210 × 297 mm | 3 mm | 216 × 303 mm per page | 8–10 mm from spine and edges |
| A2 poster | 420 × 594 mm | 3 mm | 426 × 600 mm | 10 mm |
If you are unsure about an unusual product, ask before designing. A one-minute phone call is better than an hour reworking the file.
How to set bleed in your software
- Layout and vector graphics software: when creating a new document there is a bleed field. Enter 3 mm on all sides. The software shows a red (or other) frame to which you extend the background.
- Raster graphics software: there is usually no separate setting, so create an image 6 mm larger in each dimension straight away (e.g. 154 × 216 mm for A5) and set guides 3 mm from the edge.
- Online editors and simple programs: when exporting, look for options like "PDF for print" and "show bleed" or "add bleed". If there is none, set the document up at the size including bleed.
- Exporting to PDF: tick "use document bleed settings". Crop marks are optional, but they must not intrude into the bleed area.
- Check: open the PDF and check the page size. An A5 flyer with bleed must be 154 × 216 mm, not 148 × 210 mm.
Typical bleed mistakes we see in files
We check every file before printing, and over the years a list of recurring problems has built up:
- Bleed added but empty. The document has the right size, but the background stops at the trim line and the bleed is white. The bleed has to be filled with artwork.
- Bleed created by stretching the whole design. Someone enlarged the design by a few per cent to make it "go over the edge". Text then moves closer to the edge and proportions change.
- A border at the edge. A thin line around the format comes out uneven after cutting. If you must have one, keep it at least 4–5 mm in.
- Important text in or right next to the bleed. Part of the phone number ends up in the offcuts.
- Bleed on two sides only. It happens with files converted from another format.
Most of these can be fixed, but not always without changing the design. When the background is a photo, sometimes a slight extension is enough; with artwork that has elements right at the edge, the layout has to be rebuilt. Our studio makes such corrections: the technical check is included in the order, and adapting a file costs approx. €13 net. More on the file preparation and preflight page.
- 24 hexpress printing (UV inks need no drying)
- approx. 3 daysstandard lead time
- up to 14 dayslarge and custom projects with installation
Plus courier delivery. Tell us your date — we plan production around it.
Bleed on folded leaflets and double-sided print
On a folded leaflet, bleed is added only on the outer edges of the whole unfolded sheet, not on the fold lines. A DL leaflet made from A4 is a 303 × 216 mm file (297 × 210 mm plus 3 mm each side), and the panels are marked with guides, not bleeds.
With double-sided print, make sure the front and back have the same size including bleed and the same orientation. If the front background reaches the edge and the back is white, still prepare both sides at the size with bleed: the press and the guillotine work on the whole sheet.
Also do not place important elements exactly on the fold line. Folding, like cutting, has its own tolerance.
Bleed in brochures and large format print
With stapled brochures and booklets there is one more thing: the centre pages creep outwards slightly when folded and end up a little narrower after trimming. In thicker brochures the pages nearer the middle lose more. That is why we keep a larger text margin in brochures: 8–10 mm from the edge and the spine. Brochure production itself is covered in how to order a company brochure.
Large format print follows different rules. On a welded and eyeleted banner, the margin for hems and eyelets matters more than bleed, and on a Dibond board, space for fixing holes. That is a separate topic, covered in how to prepare a banner print file.