 Signs & Large Format Print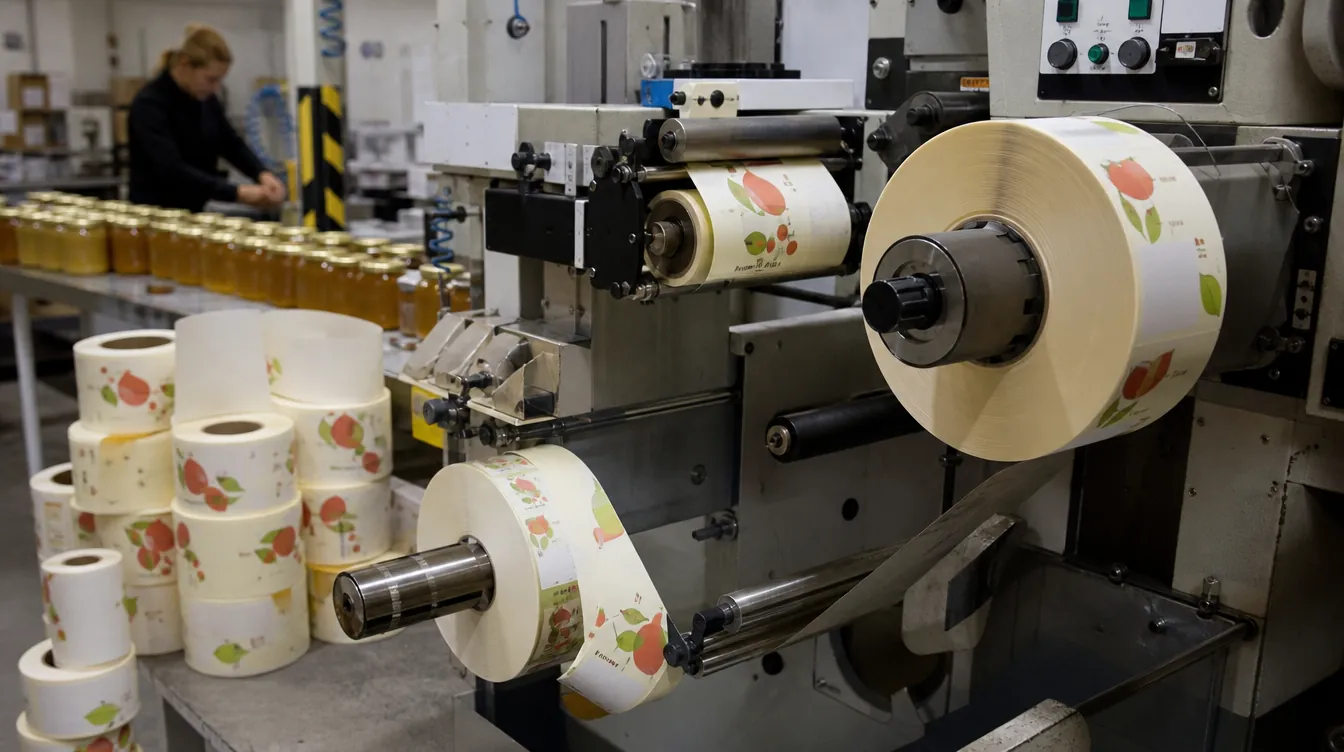
Roll or sheet – compared in one table
| Criterion | Roll | Sheet |
|---|---|---|
| How they are applied | applicator, label printer, by hand from a dispenser | by hand, peeled one by one from the sheet |
| Typical run | hundreds or thousands of the same label | dozens to a few hundred, often several designs |
| Several designs in one order | possible, but each design on a separate roll | easy – different designs on one sheet |
| Storage | compact, no bent corners | flat, handy for a folder or drawer |
| What you need to tell us | core diameter, unwind direction, labels per roll | sheet format and label layout |
| Who it suits | production, warehousing, high-turnover shops | small makers, events, promotional stickers |
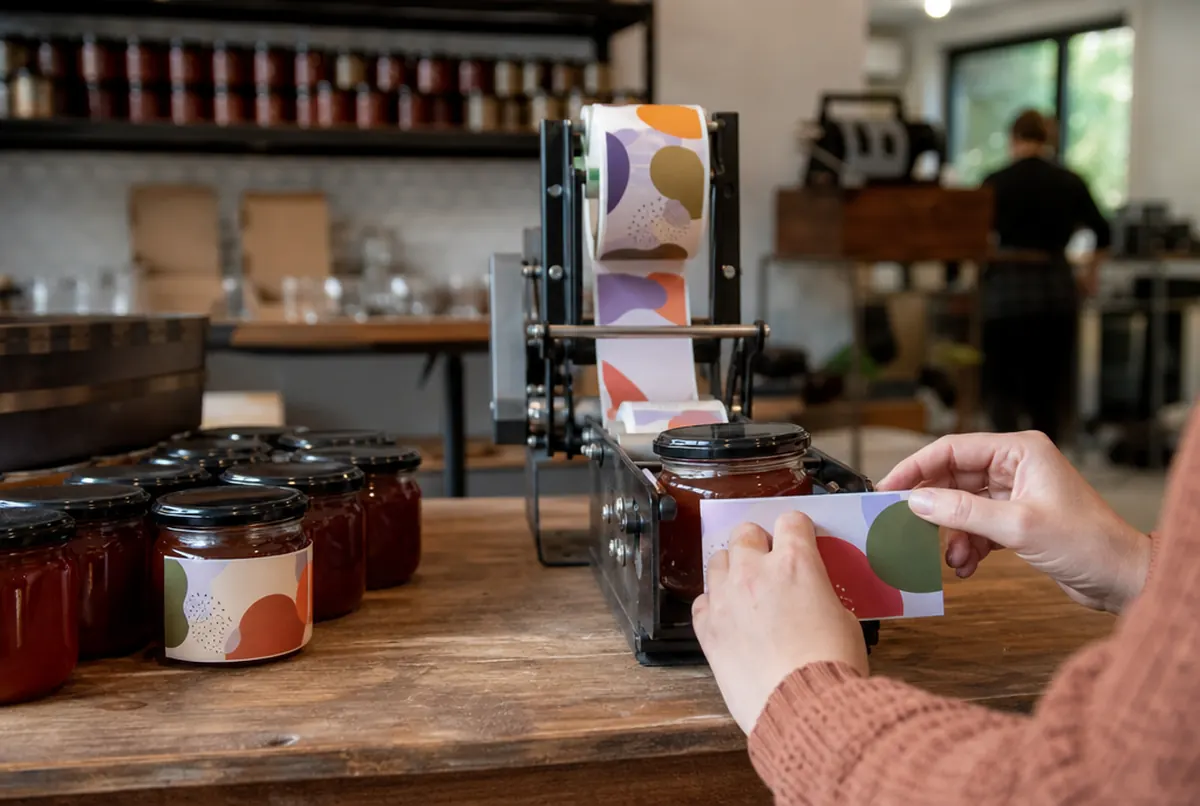
The simple rule we use when advising: if a machine applies the label, or someone does it hundreds of times a day, choose a roll. If you apply labels now and then, at a desk or on a stand, a sheet will be more convenient.
When a roll is the only sensible choice
Label applicators and thermal transfer printers work only with rolls. There is no choice here, but there are details you need to give us before printing, because they cannot be fixed afterwards:
- core diameter (the tube the labels are wound on) – must fit the holder in the machine,
- maximum roll diameter – the applicator has limited space,
- unwind direction – whether the label comes off the roll top first, bottom first or sideways,
- number of labels per roll and the gap between them.
The most common problem is labels wound the wrong way. The roll fits, the machine runs, but the text on the product is upside down. So on a first order we ask for a photo or the model of your applicator and the winding diagram.
Labels on rolls are described on the labels on a roll page, and we quote them on request.
When a sheet is better
A sheet wins when:
- you apply labels by hand and do not want to wrestle with a roll unwinding across the table,
- you have several designs in small quantities – e.g. five jam flavours at 40 jars each,
- the stickers go to customers as a freebie (a sheet of several stickers in the parcel),
- you need stickers in different sizes at the same time.
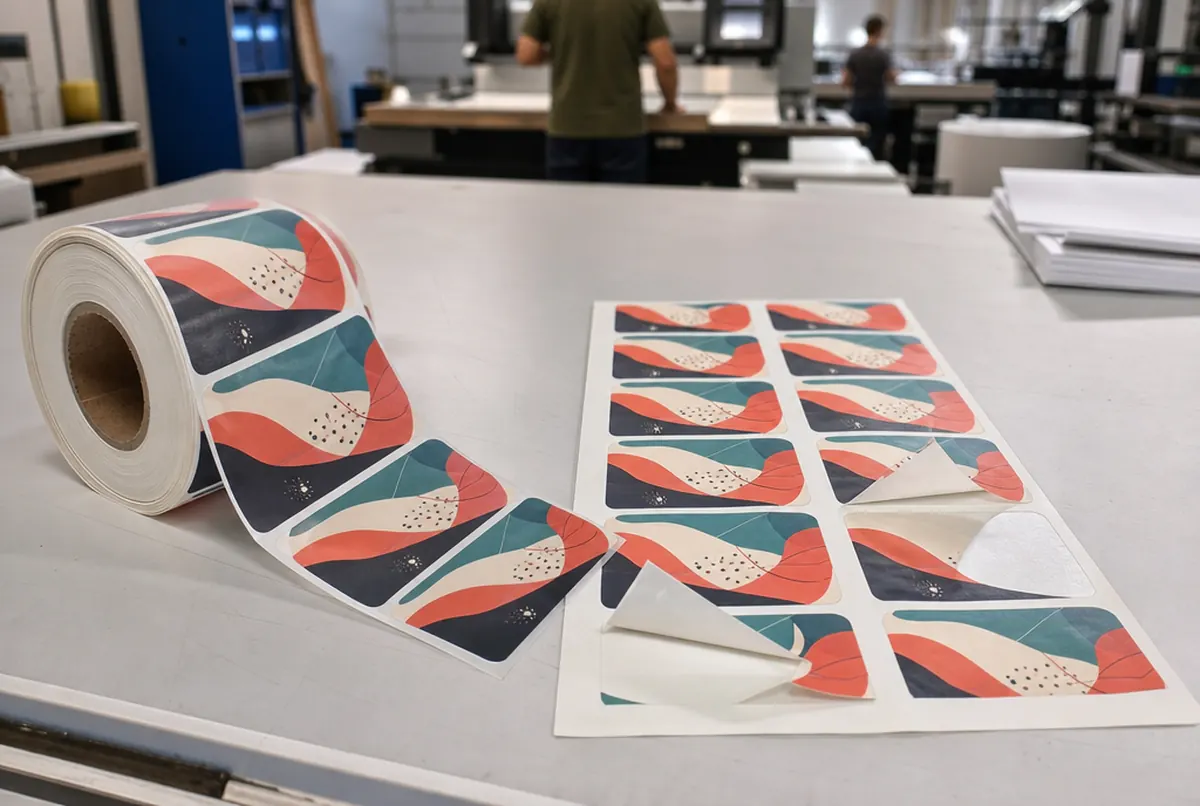
A sheet can carry different shapes and sizes side by side, each kiss-cut to its own contour. The sheet backing stays, and the stickers peel off individually. Details are on the sticker sheets page.
A sheet also has a less obvious advantage: it is easier to check before application. You see the whole run of a design at a glance, it is easy to count pieces and set some aside for later. With a roll you either keep the spare stock in one piece or have to cut it, which can be awkward when applying by hand.
What to make the label from and what it costs
Choose the material to suit the product and where the label will be used. Indicative print prices per m² (the larger the order area, the lower the rate):
- white monomeric vinyl – approx. €6–12 net/m², the standard for products used in dry conditions and over shorter periods,
- clear vinyl – approx. €7–14 net/m², a 'printed directly on glass or plastic' effect,
- polymeric vinyl – approx. €9–16 net/m², for outdoor use and gentle curves, lasting 5–7 years.
Then there is cutting. On rolls we kiss-cut labels to their contour – approx. €1.20 net per linear metre of cut line. On sheets the contour cutting rate is similar. Where there is heavy abrasion, a laminate can be added, approx. €4.90 net/m².
Here is a trap few people think about: with small labels, the length of cut, not the print, makes up most of the price. A 10 × 5 cm label has a 30 cm perimeter, so 100 pieces means approx. 30 m of cutting, i.e. approx. €36, while the print itself on half a square metre of vinyl is approx. €6 (0.5 m² × approx. €12). That is why a rectangle with rounded corners or a circle works out cheaper than a complex shape with cut-ins.
- 24 hexpress printing (UV inks need no drying)
- approx. 3 daysstandard lead time
- up to 14 dayslarge and custom projects with installation
Plus courier delivery. Tell us your date — we plan production around it.
How to prepare the file for labels
- Set the trimmed label size and add 2 mm of bleed on each side.
- Draw the cut line as a separate layer or spot colour (e.g. CutContour) in vector.
- Keep text and important elements approx. 2–3 mm inside the cut line.
- Prepare colours in CMYK; more on this in our guide to print bleed.
- For rolls, add: core diameter, unwind direction and number of labels per roll.
- For sheets, tell us how many of each design go on a sheet.
If you have no cut line or the design is a JPG, our studio will prepare the file – a technical file check is always included in the order price.