 Signs & Large Format Print
First, check what kind of light box you have
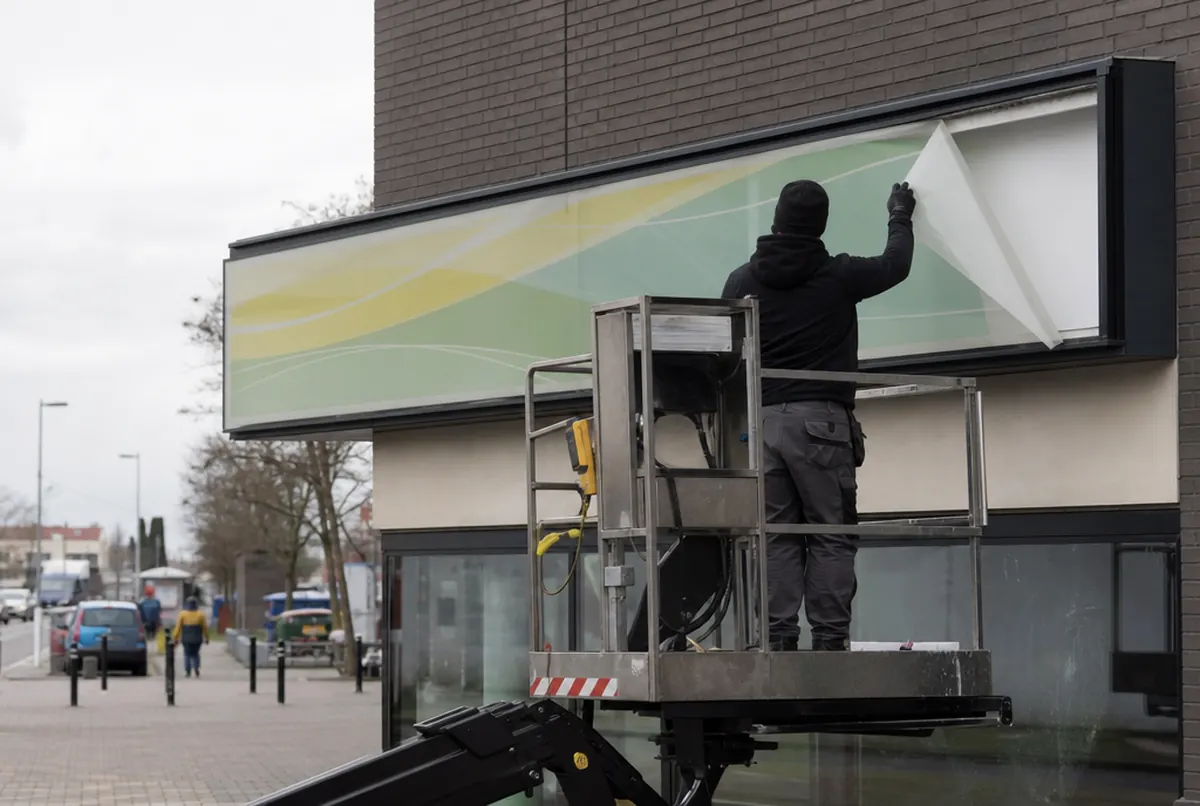
How the graphic is replaced depends on how the light box is built. Before ordering a new graphic, take a closer look at how the face is held.
- Acrylic face with vinyl applied. The most common case. The acrylic sits in the profile frame and the graphic is vinyl applied to the front or the back.
- Printed acrylic face. The graphic is printed directly on the acrylic. The whole sheet is replaced.
- Tensioned banner. In large light boxes, e.g. on petrol stations or retail units, the face is a backlit banner stretched over a frame.
- Fabric in an SEG frame. A fabric graphic with a sewn-in silicone edge, pushed into a groove in the profile. Changing it takes a few minutes, without tools.
- Ultra-slim LED with changeable graphic. Slim interior light boxes where the graphic is swapped like a poster in a frame.
If you are not sure what you have, send us a straight-on photo of the light box and a close-up of a profile corner; that is usually enough to work out how to replace it.
Replacement methods and indicative costs
| Method | Price | When to choose it |
|---|---|---|
| New face, fitted (backlit film) | from approx. €80 / m² | Light box on the facade, you do not want to do it yourself |
| Self-adhesive backlit film with UV print | approx. €14–24 / m² | The acrylic is sound and you can apply it yourself |
| Opal acrylic 3 mm, printed: ready-made face | approx. €48–70 / m² | The old acrylic is yellowed, scratched or cracked |
| Backlit banner for large light boxes | approx. €8–16 / m² | Large light boxes with a tensioned face |
| Backlit SEG fabric, UV print | approx. €18–29 / m² | Fabric light boxes, frequent graphic changes |
| Backlit SEG fabric, dye sublimation | approx. €20–32 / m² | When maximum colour depth matters |
Material prices depend on the area: the more square metres, the lower the rate per m². Example: a 300 × 80 cm light box is 2.4 m². Printed backlit film alone at that size is 2.4 × €24 = approx. €58 net, and a new face fitted 2.4 × €80 = approx. €190 net. For installation away from our base we add travel at approx. €1 net per km both ways, or arrange a partner installer closer to you.
Why an ordinary sticker will not do
Clients sometimes ask whether they can apply ordinary printed vinyl to a light box. You can, but the night-time effect will be poor. Ordinary white monomeric vinyl transmits light unevenly: the LED modules show through as bright spots, and colours come out washed-out or muddy.
Backlit film is designed for illumination: it diffuses the light and has good opacity. On top of that, when printing we correct colours for LED lighting, because artwork in transmitted light looks different from the same artwork seen by day. The most common problem with client files: reds and navy blues that look fine on screen turn pink or purple when backlit. So for brand colours we suggest a test print, approx. €13 net for an A3 proof on the actual material.
More about face materials: backlit films for light boxes and backlit banners.
Replacing the film yourself, step by step
With a small ground-floor light box with an accessible face, you can replace the film yourself. With a light box at height and the power connected, leave it to a crew.
- Disconnect the power to the light box. Always, even if you are "only taking the face off".
- Remove the face from the profile, usually by unscrewing a retaining strip or taking off a frame.
- Peel off the old film. Warm air from a hairdryer softens the adhesive. Pull slowly, at a sharp angle.
- Remove adhesive residue with a cleaner intended for plastics. Do not use solvents or acetone: acrylic goes cloudy and cracks.
- Wash and dry the acrylic, ideally in a warm, dust-free room.
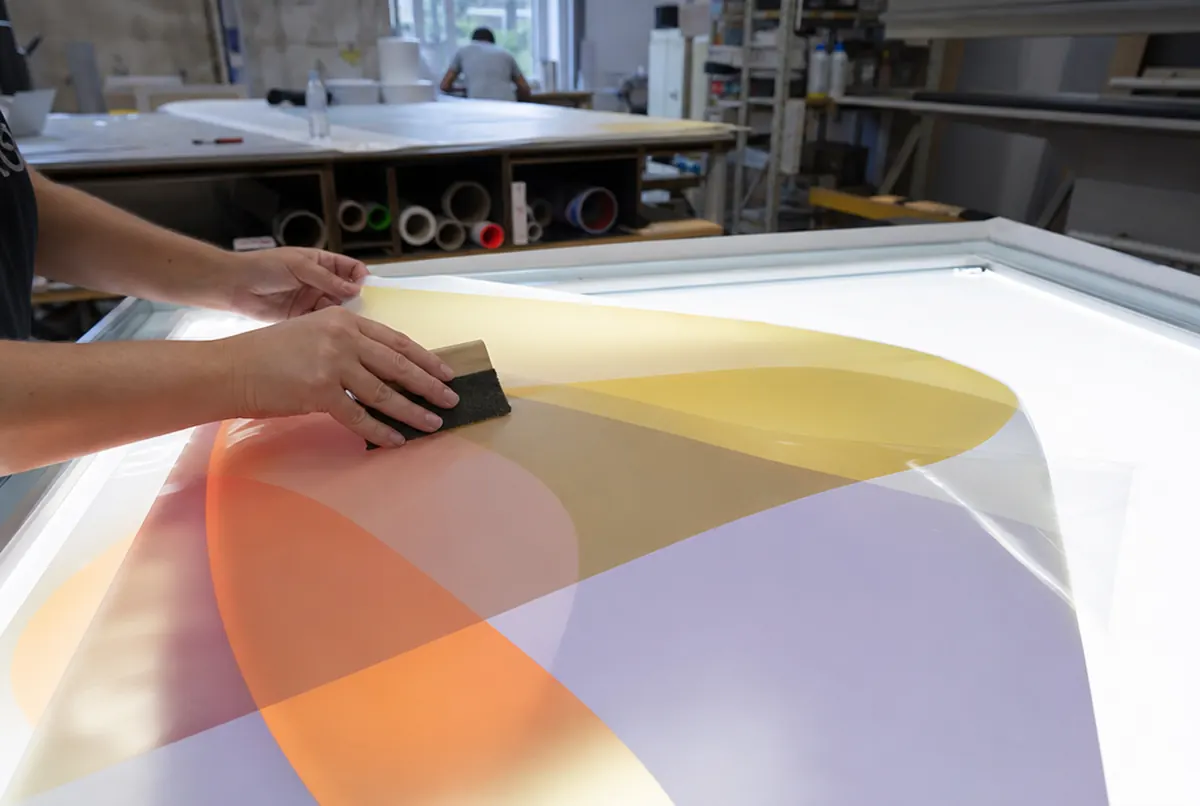
- Apply the new film, starting from the centre or one edge, pushing the air out with a squeegee. For larger sizes the wet method helps.
- Reassemble the light box and check it lit after dark, which is when bubbles and unevenness show.
You will find practical tips on applying vinyl in the guide how to apply vinyl without bubbles.
- 24 hexpress printing (UV inks need no drying)
- approx. 3 daysstandard lead time
- up to 14 dayslarge and custom projects with installation
Plus courier delivery. Tell us your date — we plan production around it.
Looking after a light box so it lasts for years
- Clean the face once or twice a year with water, a mild detergent and a soft cloth. Dust and street grime can dim a light box more than ageing LEDs.
- Check the seals after winter: corners, cable gland, gaskets. Water inside is the most common cause of failure.
- Watch how it lights. Flickering, dark patches or an unlit band are signs that the power supply is failing or modules are dying. Replacing LED modules or a power supply costs from approx. €42 net plus parts.
- Have it inspected from time to time: a service inspection of an illuminated sign costs from approx. €60 net and covers the LEDs, power supplies and seals.
- Plan a new face when the colours have visibly faded, especially on a south-facing wall.
How much electricity a light box uses and what fails most often is covered separately in LED light box power consumption and lifespan.