 Signs & Large Format Print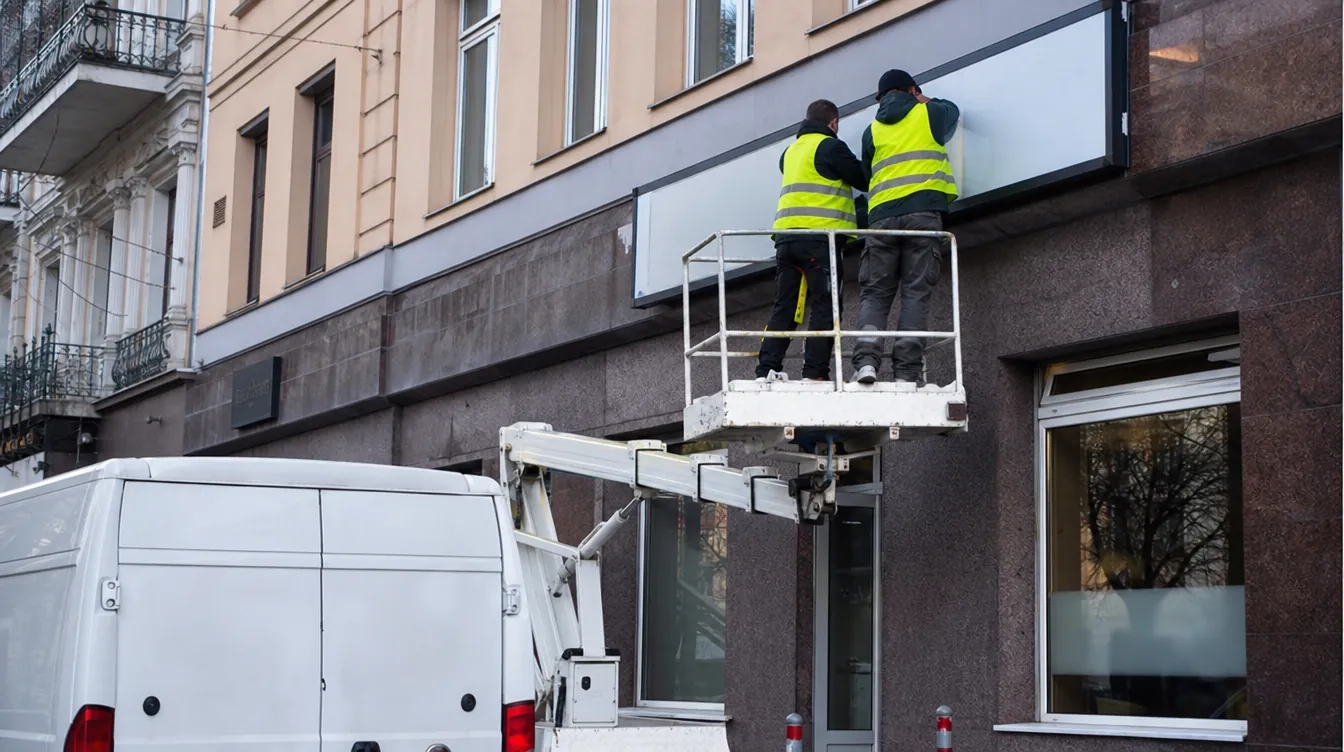
Wet or dry: which to choose
| Wet | Dry | |
|---|---|---|
| For whom | Beginners, large flat panes | Experienced fitters; vinyls that do not like water |
| Repositioning | Yes, for a few minutes | Practically none: once it is down, it is down |
| Risk of bubbles | Low | Higher, depends on technique |
| Adhesive curing time | Longer: from a few hours to a few days | Immediate |
| When we use it | Glass, frosted film, clear film, monomeric on smooth surfaces | Floor vinyl, One Way Vision, air-release vinyl, lettering on application tape on paintwork, cool rooms in winter |
| Do not use | On vehicles with recesses, on air-release vinyl | When you are not sure about positioning a large graphic |
If you do not know which method suits a particular vinyl, ask when ordering and we will tell you what works. The general rule: glass and smooth boards, wet; everything else, dry.
What to prepare
- a squeegee (a stiff plastic applicator), ideally with a felt edge so it does not scratch the print;
- a spray bottle of water with 2–3 drops of washing-up liquid per litre (for the wet method);
- isopropyl alcohol and lint-free cloths;
- masking tape and a tape measure;
- a sharp snap-off blade knife;
- a pin or needle;
- time and calm: haste is the main cause of bubbles.
Temperature: it is best to work indoors or in weather above about 10°C, without full sun on the surface. On hot glass the water evaporates too fast; on cold glass the adhesive grips poorly.
Step by step: the hinge method (wet, on glass)
- Clean the surface with soapy water, then wipe with alcohol. Run a finger over it: if you can feel a grain of sand, it will show under the vinyl like a bubble.
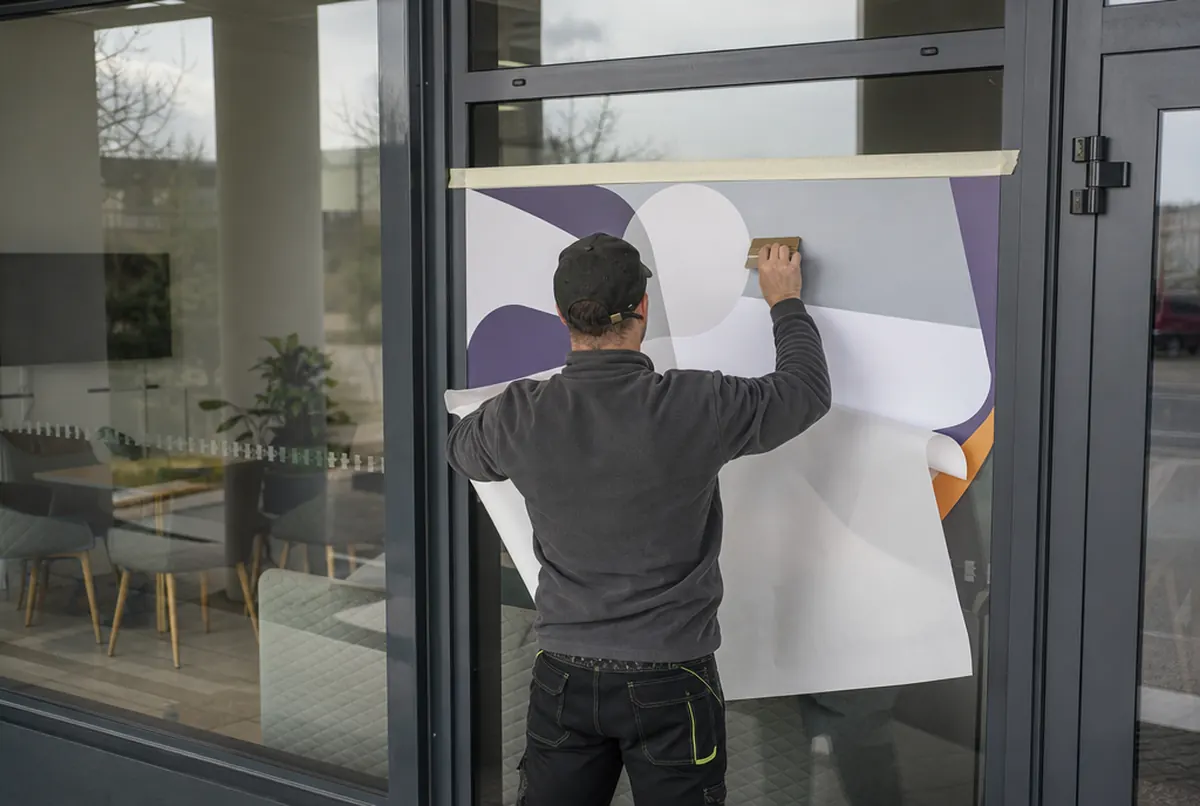
- Hold the vinyl with its backing in the target position and check it is level. Tape the top edge with masking tape across the full width: this is your "hinge".
- Lift the vinyl up on the hinge and peel off the backing across the whole area (for a large graphic, halfway: see below).
- Spray the glass and the adhesive side of the vinyl generously. Yes, both sides: then the vinyl does not grab straight away.
- Lower the vinyl onto the glass. You can still slide it a few millimetres.
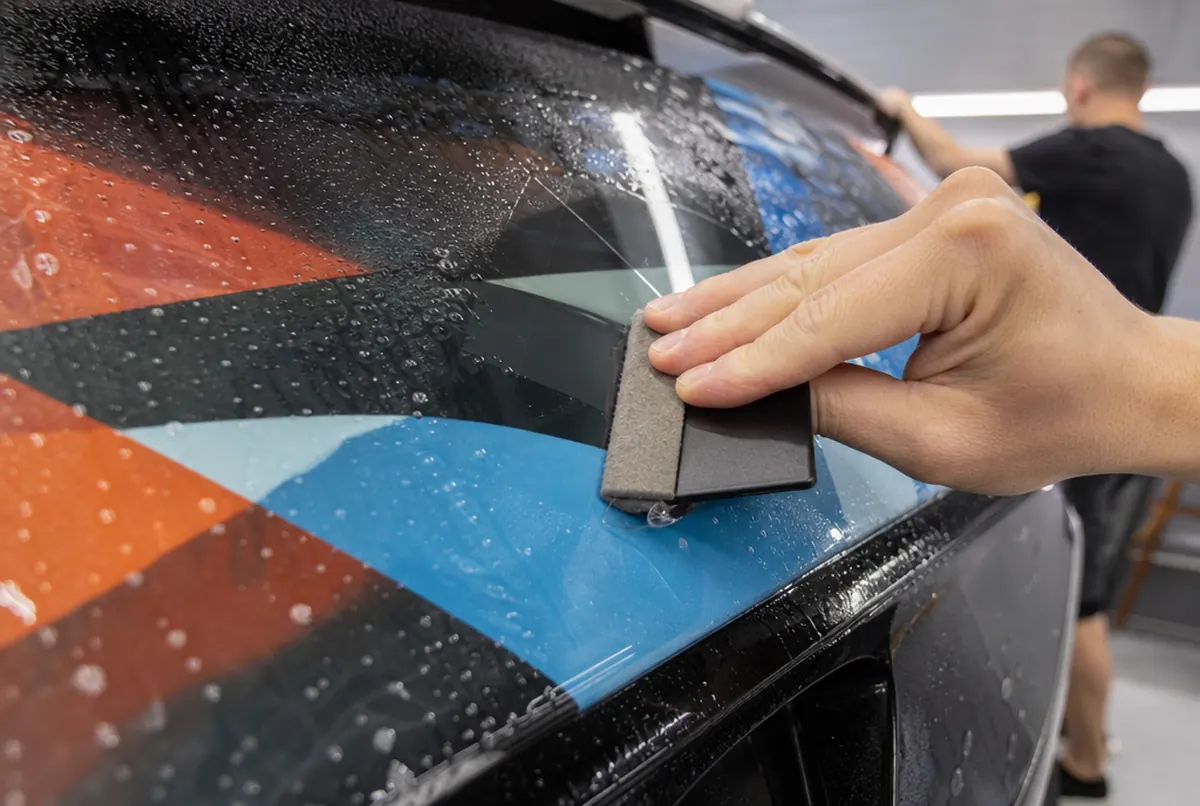
- Squeegee the water out from the centre to the edges with overlapping strokes. First one vertical stroke down the middle, then out to the sides in a herringbone pattern.
- Wipe the edges with a cloth and press them again with the squeegee wrapped in it.
- Leave it alone. Milky spots under the vinyl are residual water and will disappear within a few days. Do not clean the glass for a few days.
For a graphic wider than about 1 m, make a vertical hinge down the middle: first peel the backing from one half and apply it, then remove the tape, peel the other half and apply from the centre to the edge.
Cut lettering on application tape
Plotter-cut lettering, such as opening hours, comes in three layers: backing, letters, application tape (clear, slightly tacky). The order of work:
- Before fitting, run the squeegee over the application tape a few times: the letters must bond well to the tape.
- Make a hinge with masking tape, as above.
- Peel the backing slowly at a sharp angle; if a letter stays on the backing, lower it back, press and try again.
- Apply dry, or on lightly misted glass (with paper application tape, dry only).
- Press with the squeegee, wait a moment and peel the application tape off very low, almost parallel to the glass.
We apply the stickers from the guide contour-cut stickers the same way.
- 24 hexpress printing (UV inks need no drying)
- approx. 3 daysstandard lead time
- up to 14 dayslarge and custom projects with installation
Plus courier delivery. Tell us your date — we plan production around it.
A bubble after fitting: what to do
- Water bubble (wet method): usually evaporates on its own within a few days. If it is large, you can push it to the edge with the squeegee in the first few hours.
- Air bubble: prick it with a pin from the side, at an angle, and press with your finger from the edge towards the hole. The pinhole is invisible.
- Grit under the vinyl: nothing helps except lifting that section, removing the grit and pressing it down again. That is why cleaning matters so much.
- Crease: with a large graphic applied dry, a section can sometimes be gently lifted and relaid; with the wet method it rarely happens.
If you are only just buying vinyl and are worried about fitting it, consider air-release vinyl (approx. €11–19 net/m²). Its adhesive has micro-channels through which air escapes by itself, and it is repositionable. It works well for wall stickers and short-term displays; see wall and decorative graphics.
When it is better to hire someone
You can apply a simple band of frosted film, lettering on a door or a graphic on a flat pane of up to about 1–2 m² yourself. It is worth hiring a fitter when:
- the graphic consists of several panels that must line up exactly at the joins;
- you are wrapping a vehicle: recesses and edges need experience and heating the vinyl;
- you are working at height or on a large shopfront;
- you are applying vinyl to a board (a sign or plaque): we do this in-house, wet or dry, for approx. €13 net/m².
Our installation crew charges approx. €42 net per hour plus travel. Details on the sign installation page, and you can work out the cost of a whole shopfront with the guide how much do shop window graphics cost.