 Signs & Large Format Print
First decide what the prototype is for
The most expensive prototype is the one that answers the wrong question. Before we print anything, we ask what needs to be tested. Broadly there are three kinds of model:
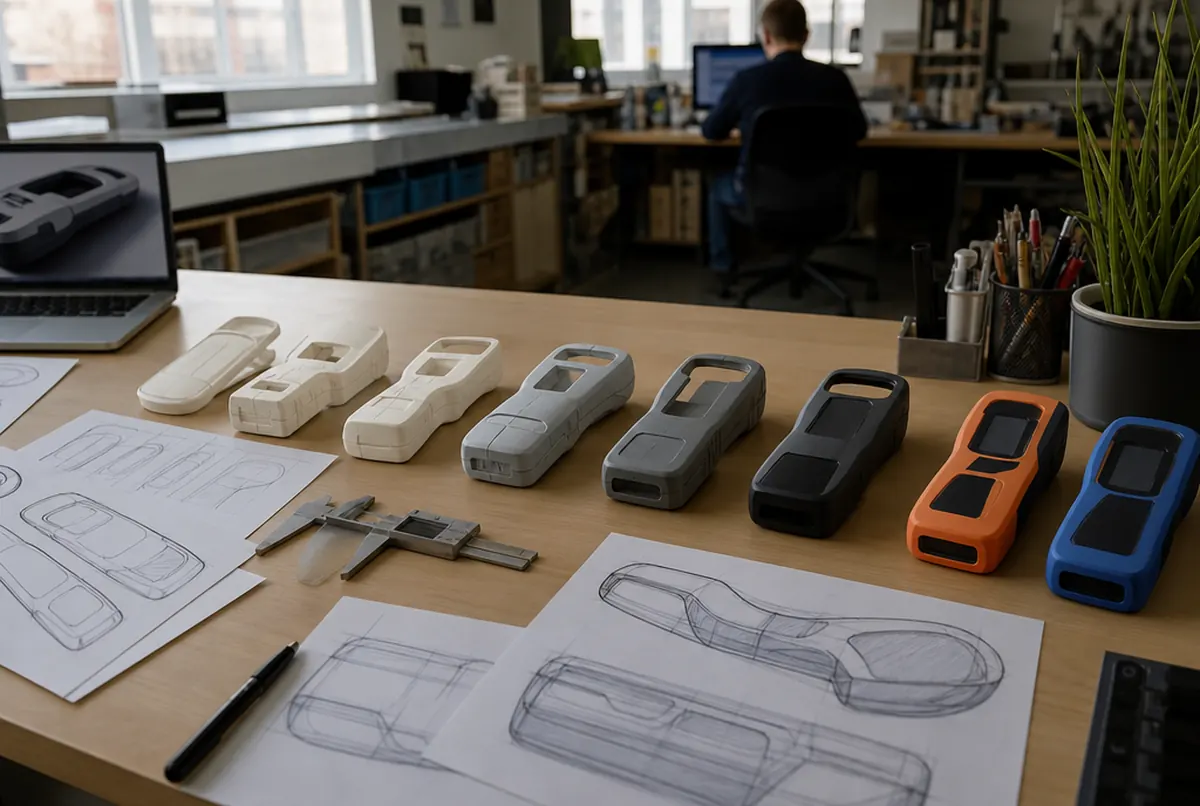
Looks-like model. It has to look like the product – for photos, investor presentations, customer tests or a trade show. Shape, colour and surface finish matter; the inside can be hollow. This usually means sanding and painting.
Works-like model. It has to function: clips must clip, the electronics must fit the housing, a handle must take the load. Appearance comes second. We choose a tough material and the right print orientation.
Ergonomic and size model. It shows whether the thing sits well in the hand, fits on the shelf, in the drawer or in the box. A quick print with thick layers, or even a block of XPS foam, is often enough.
If you know which one you need, you save straight away – you do not pay for painting a model meant for strength tests, or for a tough material in a model meant for photos.
In practice companies often go through all three: first a quick size model, then a functional one for testing, and finally a nicely finished piece for presentation. Each is cheaper when it is not trying to be everything at once.
From idea to model, step by step
- Input. Send what you have: a CAD file, a dimensioned drawing, a sketch, a photo of a similar object, or the object itself for scanning.
- 3D model. If there is no file, our modeller draws one (approx. €45 net/h). For unusual shapes we start with 3D scanning of an existing object.
- Sign-off. We show the model on screen or as a render. Changes cost least at this stage.
- First print. We print on one of our 7 3D printers. A small part takes a few hours, a larger housing often runs overnight or longer.
- Your test. You check what works and what does not. Keep notes specific: 'clip too tight', 'hole 2 mm too low'.
- Iteration. We adjust the model and print the next version. Several versions are normal in prototyping.
- Final model. The last version can be finished for presentation – sanding, primer, painting to colour (approx. €34 net/h of finishing).
One full cycle from a ready file usually takes 2–3 working days. With several iterations, plan realistically for 2–3 weeks.
Which technology for which prototype
| Technology | When we use it | Indicative cost (net) |
|---|---|---|
| 3D printing – standard printer | housings, brackets, mechanisms, small models | approx. €14 / h + material |
| 3D printing – large format | large parts in one piece | approx. €26 / h + material |
| 3D foam cutting (XPS) | large forms, size models, props | approx. €55 / h |
| CNC routing of boards | flat parts, panels, bases, displays | from approx. €1.65 / m of tool path |
| Laser | small parts in acrylic, plywood, felt | from approx. €0.80 / m of tool path |
| Card cutting and creasing | packaging and POS display prototypes | approx. €0.70 / m of cut, approx. €0.50 / m of crease |
| A3 test print | checking artwork on the final material | approx. €13 each |
We work with FDM, i.e. printing from filament. If a prototype needs a surface without visible layers, we finish it by hand. Where jewellery-level detail is needed, we will tell you honestly that resin printing is the better choice.
What a prototype costs – a worked example
Take the housing for a small electronic device: two parts screwed together, approx. 180 g in PETG, approx. 9 hours of printing. The client has only a dimensioned drawing.
- Modelling the housing from the drawing: approx. 4 h × €45 = approx. €180
- Printing: 9 h × €14 = €126
- Material: 180 g × €0.10 = approx. €18
- Job set-up and print start: approx. €14
- First version in total: approx. €340 net
The second version after changes is much cheaper – modelling often takes one hour instead of four, while printing costs the same. If you then need 10–50 pieces for user testing, a series discount of approx. 15% applies.
How 3D printing is priced in detail is covered in our guide how much does 3D printing cost.
What you bring to the table has the biggest effect on cost. A checked, ready STEP file means you pay for little more than printing. A sketch on paper means several hours of modelling before the machine even starts. So send everything you have at first contact – even photos of competitors' products or a hand drawing with dimensions.
Prototypes in advertising: displays, packaging, signs
As a print house and sign maker we often build prototypes that clients do not think of as 'prototyping':
- counter display or shelf stand – one piece in card or PVC with full artwork, before you order a run for dozens of shops,
- packaging – a box mock-up cut and creased on the plotter, to check the size and how the product looks inside,
- a letter or part of a logo – one illuminated letter or section of an emblem, to judge colour and light before the whole sign goes into production.
It is a cheap way to avoid an expensive mistake on the full run. More on display models in our guide scale models and mock-ups; the service itself is described on the prototypes and mock-ups page.