 Signs & Large Format Print
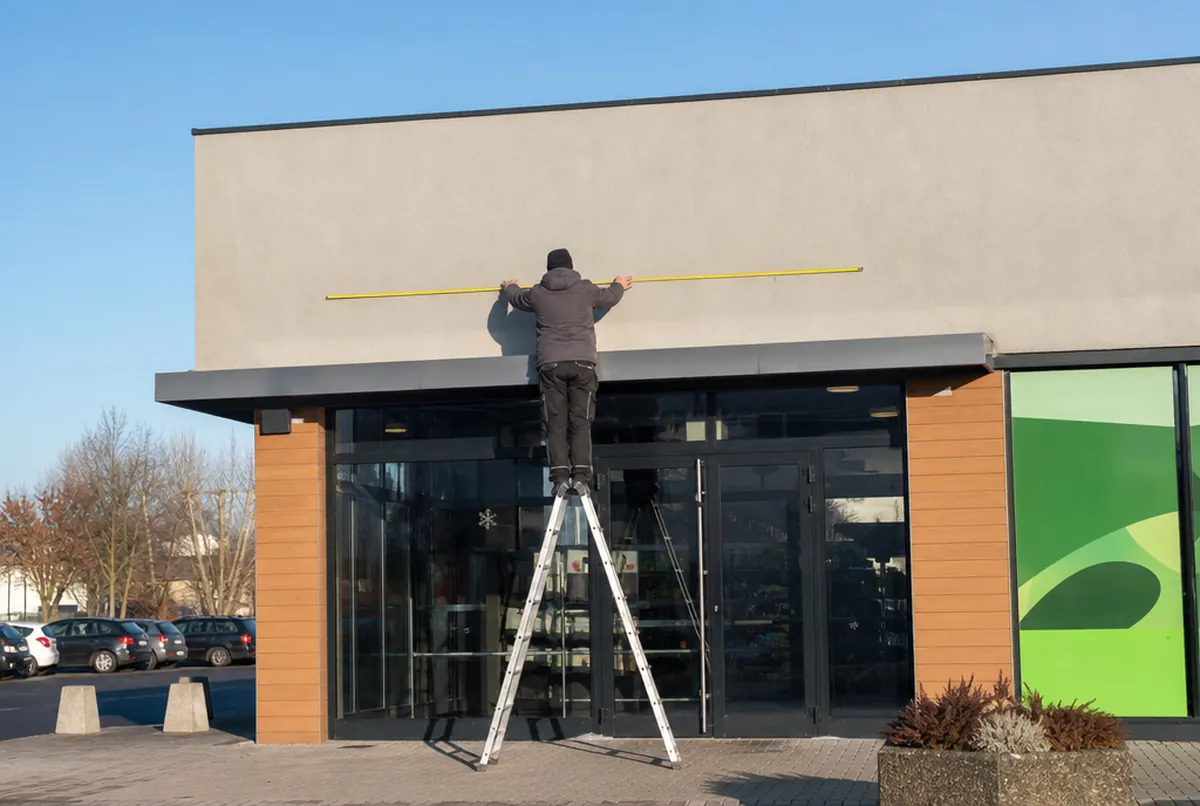
What you need
- a tape measure (5 m is enough at ground-floor level; for higher facades a laser distance meter helps),
- a ladder or a second person to hold the end of the tape,
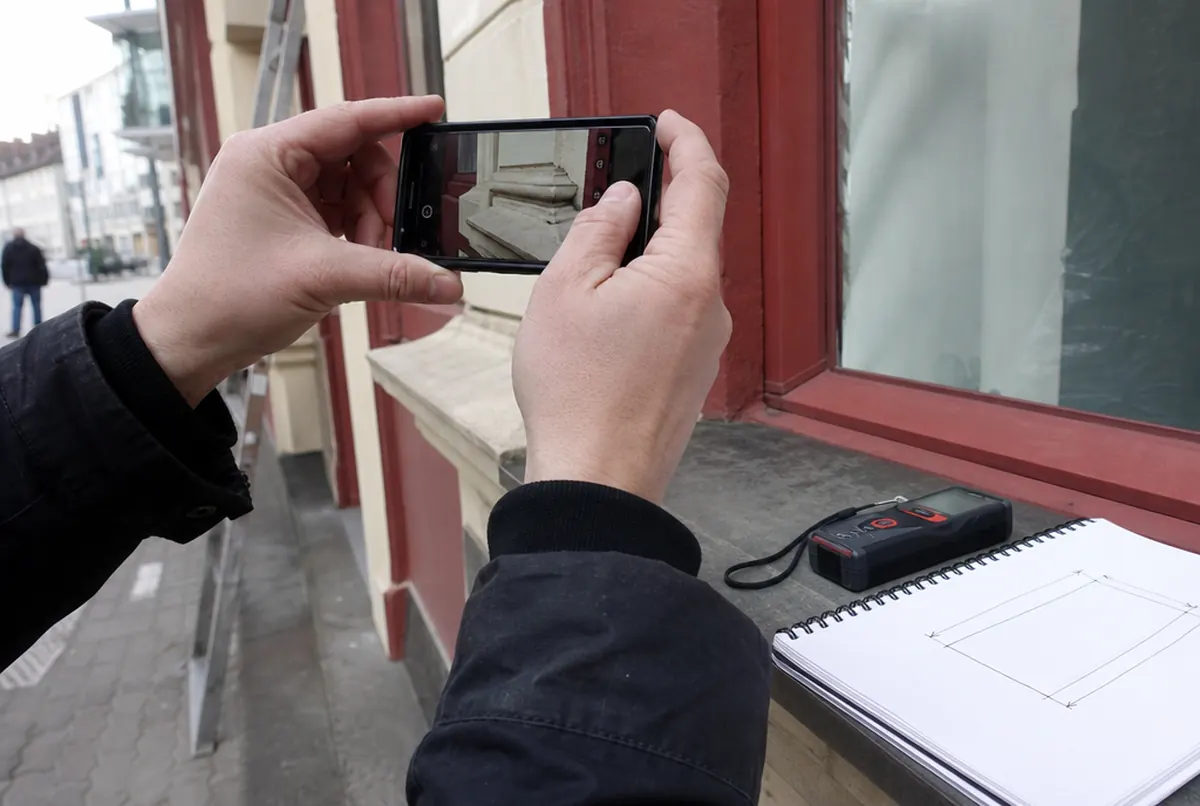
- a phone for photos,
- a sheet of paper with a simple sketch of the facade to write the measurements on.
The sketch does not need to be pretty. A rectangle for the wall, the windows, door and gutter marked, and arrows with numbers: that is quite enough. Give measurements in centimetres, because with a sign every centimetre counts.
Measuring step by step
- Mark out the area where the sign can go. Usually the band between the top of the door or shop window and the sills of the first-floor windows, or a section of wall next to the entrance.
- Measure the width in two places, at the top and bottom of that area. Walls are rarely perfectly straight, and a difference of 2–3 cm is not unusual.
- Measure the height in two places, on the left and right. If the results differ, write down both.
- Measure the height from the pavement to the bottom edge of the planned sign. This decides whether we can fit it from a ladder or need a cherry picker.
- Measure the distances to obstacles: windows, gutters, lights, cameras, junction boxes, the corner of the building, a neighbouring sign.
- Check what the wall is made of. Brick, concrete, render on insulation, trapezoidal sheeting, cladding panels. With insulation, give its thickness if you know it.
- Mark the nearest power source: a junction box, a socket inside the premises, a place where the wall can be drilled through.
Do not round measurements up "to be safe". Give the real figures and we will leave a margin: a light box or lettering should not fill the area edge to edge, or it looks squeezed in.
What to measure and why we need it
| What | Why | How to give it |
|---|---|---|
| Width and height of the area | Choosing the size of the light box or letters | In cm, at two points |
| Height above the pavement | Ladder, scaffold or cherry picker | In cm, to the bottom edge |
| Distances to windows, gutters, corners | Layout and fixing | On the sketch, in cm |
| Wall and insulation type | Choosing anchors and stand-offs | Description + close-up photo |
| Where the power comes in | Cable length, hiding the cable | Marked on a photo |
| Distance the sign will be read from | Letter size and brightness | E.g. across the street, car park, road |
Photos that really help
From good photos we can produce a visual of the sign on your facade. From crooked photos taken at an angle, hardly. Take three shots:
- straight on, with a tape measure in the frame: stand opposite, hold the phone parallel to the wall, run the tape along the area for the sign,
- from a distance, where customers see it from: from the car park, across the street, from the road,
- close up: the wall surface and the spot where the cable could come in.
If you want to check what letter size will be legible, here is a simple test: print one letter at the planned height, tape it to the wall and look from where customers will see it. It takes a quarter of an hour and settles a lot of debates about whether 30 cm is "big".
- 24 hexpress printing (UV inks need no drying)
- approx. 3 daysstandard lead time
- up to 14 dayslarge and custom projects with installation
Plus courier delivery. Tell us your date — we plan production around it.
The most common mistakes when measuring yourself
After years of taking measurements from clients, we know where things usually do not add up:
- the shop window measured instead of the wall above it: the sign is to hang above the window, but the measurement is for the glass,
- projecting elements left out: sills, cornices, flashings, roller shutter boxes, awning brackets. They are invisible on a distant photo, and then the light box is 3 cm too big,
- mixed-up units: 300 written without a unit can mean centimetres one time and millimetres the next,
- no information about insulation: this decides the anchors and whether the light box can be hung safely in the chosen spot,
- a photo taken at an angle: you cannot build a reliable visual from it,
- outward-opening doors and lights above the entrance that a projecting sign or light box may clash with.
If something is uncertain, say so. "I don't know what's under the render" is better than a guess.
Files and details to send with your enquiry
Along with the measurements and photos, send:
- your logo as a vector file (PDF, AI, EPS, SVG). If you only have a JPG or a screenshot, we will redraw it: logo vectorisation costs approx. €26 net, and for letters and routing it is essential. More in the guide vector logo for print,
- what you have in mind: light box, letters, projecting sign, illuminated or not,
- the address: we work out crew travel (approx. €1 net per km both ways from Wieluń) or use a partner installer nearer to you,
- the deadline, if it matters, e.g. an opening date.
If you know the size, send it to us and we will give you a guide price for a light box. The full list of things that speed up a quote for any sign is in the guide how to order signage.
When it is better to book our survey
Measuring yourself is enough for a simple ground-floor sign. We recommend booking a site survey (from approx. €85 net, refunded when you place the production order) when:
- the sign will be mounted high and the facade cannot be reached from a ladder,
- there are several signs, e.g. letters, a light box, a projecting sign and window graphics,
- the wall is unusual: arches, cornices, sandwich panels, glazing,
- you need a technical drawing for the landlord or the authority.
Our crews travel across Poland and the EU, and we combine surveys abroad with other installation trips; for some locations a partner team nearby can take the measurements.