 Signs & Large Format Print
Where a model comes from: drawing, photos, 3D scan, old part
A 3D model is always built from some information about the shape. The better that information, the faster and cheaper the work.
- Technical drawing with dimensions – the best starting point. Even a hand sketch with dimensions in millimetres is enough for simple parts.
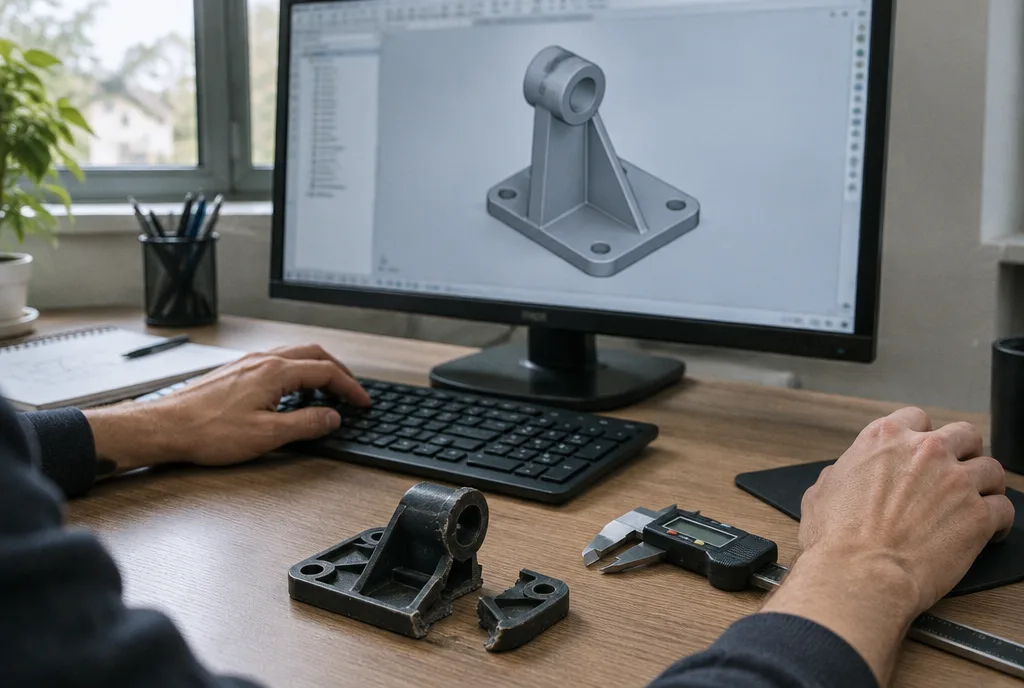
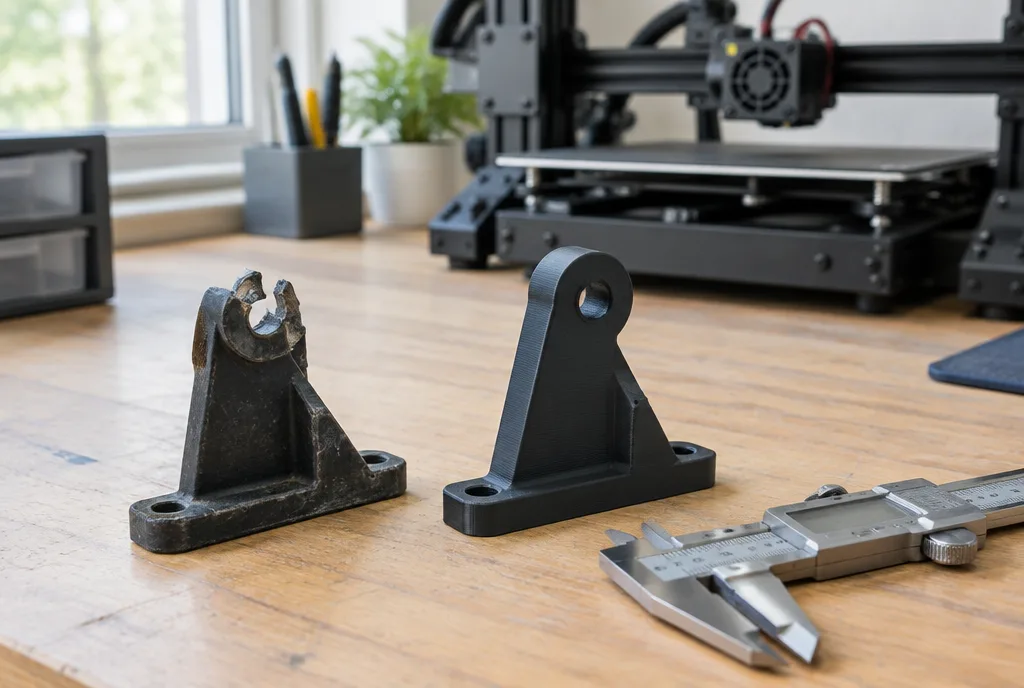
- Old or damaged part – you send or bring it in, we measure it with callipers and recreate it. A broken part can also be measured if all the pieces are there.
- Photos – enough for decorative elements and simple shapes when the photo includes something for scale (a ruler, an A4 sheet). For parts that must fit something, photos alone are not enough.
- [3D scan](/produkty/skanowanie-3d) – for organic shapes (a sculpture, a figurine, a body panel, a part with irregular surfaces), manual measuring makes no sense. We have a professional 3D scanner; the raw scan then needs cleaning and often rebuilding into a model that can be printed or routed. More in our guide 3D scanning: what it is useful for.
- An idea without a drawing – also possible, but then there is a design stage: sketch, proposal, revisions. That takes longer.
How a modelling job works, step by step
- Description and materials. You send a drawing, photos or the part, plus information on what the element is for, what it connects to and what material it will be made from.
- Quote. We estimate the modelling hours and at the same time the cost of production (3D printing, routing). For simple parts you get a fixed price; for projects with unknowns, a range.
- Model and preview. We send renders or a model preview for approval. Most misunderstandings are caught at this stage (the hole was supposed to be on the other side).
- Prototype. For fitted parts we recommend a first test print. You check it in place, we adjust dimensions, and only then do we make the final part or the series.
- Production and files. We print, route or hand over just the file – as agreed.
The most common mistake when ordering? No information about tolerances. If something has to be a press fit, fit a bearing or an existing hole, say so at the start. 3D printing has its own tolerances and the model must be prepared for them.
File formats: STL, STEP, OBJ
| Format | What it contains | Used for |
|---|---|---|
| STL | triangle mesh, shape only | 3D printing – the standard |
| 3MF | mesh + colours, settings, multiple objects | 3D printing, newer software |
| OBJ | mesh + textures | visualisations, colour printing, scans |
| STEP | solid model (exact surfaces) | further editing in CAD, CNC routing, production |
| DXF / SVG | 2D outlines | laser cutting, flat routing |
If you ever plan to move production to another plant or make an injection mould, ask for a STEP file. STL is enough for printing but hard to edit later – it is like the difference between a PDF and an editable document. Printing from a finished file is covered in our guide 3D printing from your STL file.
What determines the cost of modelling
Modelling is charged for working time – approx. €45 net per hour. The number of hours depends on:
- shape complexity – a box with holes is quick, smooth transitions, fillets and freeform surfaces take much more work,
- quality of input – a complete dimensioned drawing vs a few phone photos,
- required accuracy – a decorative element vs a part that must fit to a tenth of a millimetre,
- number of revisions – concept changes along the way extend the work,
- scan preparation – cleaning a scan and rebuilding it into a solid model can be labour-intensive.
As a guide: a simple technical part from a drawing takes 1–2 hours, an element with several fits 3–5 hours; a sculptural shape or a reconstruction from incomplete data we quote after seeing the materials.
Production comes on top. 3D printing on a standard printer costs approx. €14 net per machine hour plus material, and a one-off approx. €14 net for preparing and starting the print – details in our guide how much does 3D printing cost. The minimum order value is €24 net.
A model for 3D printing vs a model for CNC routing
The same shape can be made in two ways, and the model must be prepared for the specific method.
For 3D printing we keep to minimum wall thicknesses, avoid large unsupported overhangs, split large objects into parts to be bonded and design fits with clearance. 3D printing copes well with complex internal shapes, channels and lattice structures.
For [CNC routing](/produkty/frezowanie-cnc) the shape must be reachable by the tool – the cutter is round, so internal corners always have a radius. On the other hand, routing gives a better surface finish and works with sheet materials: acrylic, PVC, Dibond, plywood, MDF. For routing flat parts a 2D drawing (DXF) is often enough, without a full 3D model.
For prototypes we usually combine both methods: a 3D-printed body, routed panels, sometimes UV print. See also prototypes and mock-ups.
Rights to the model and revisions
A few things worth agreeing before work starts:
- Who owns the file. As standard we hand over to the client the model they have paid for. If you need a written transfer of copyright (e.g. for series production or a design registration), say so when ordering – we record it in the order or contract.
- Recreating other people's products. Recreating a broken part for your own device is different from copying a protected design for sale. The client is responsible for the right to copy; if in doubt, ask a lawyer.
- Revisions. Minor dimensional corrections after a prototype are a normal part of the work. A change of concept halfway through is a new scope and a new quote.
- Confidentiality. For new products we sign a non-disclosure agreement if the client wishes.